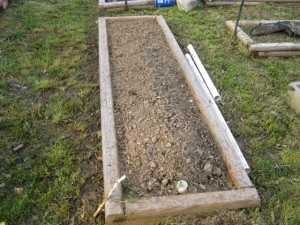
alfalfa compost pile
Experienced gardeners know that rich compost is the key to all natural gardening and soil building. Rich compost provides your plants with the nutrients they need for fertile growing and lush, healthy vigor. Plus, and more importantly, rich compost feeds the soil organisms that make for long-term soil health and vitality. And soil health is really the key to great gardening.
So let’s go make some compost. Well, if you’ve ever tried to make compost, you know it is often a challenge to get it right. It seems like it should be so easy. Put ingredients in. Give it some water. And you should get great compost, right? Not necessarily. Sometimes you get a stinking pile of muck. Other times, the pile sits there and does nothing. How frustrating.
Making good compost does take some skill and practice, but it is something you can get the hang of. There are various ways to make compost and I have tried many of them over the years. Yet through much research, reading books, watching videos and trial and error, I’ve found these five secrets to be the key to making good compost consistently and with less effort:
- Right ingredients
- Pile Size
- Pile Structure or layering
- Moisture
- Time
Let’s go through the secrets.
Right Ingredients
All experienced composters know that you need the right mix of brown and green materials to make good compost.
Browns can include leaves, straw, sawdust and the like. I personally like straw the best and especially the tall rye grass straw I grow myself when it’s available. We strive for as much on-farm sourcing as we can get. Straw provides very good air space and mass for the pile.
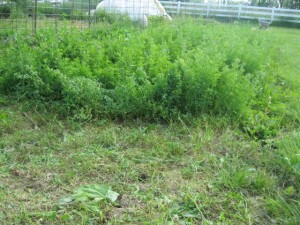
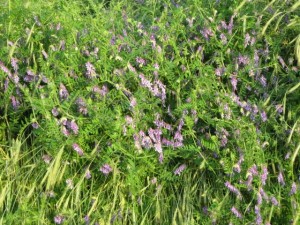
alfalfa harvest
Greens can include just about any green material from weeds without seed heads, to grass and clover to name a few. To me, there is no better green ingredient to great compost than fresh alfalfa. Alfalfa is high in nitrogen and also provides good mass and structure for the pile. Last year we started growing several alfalfa beds to provide our own source for this key ingredient. The beds have grown very lush this year with all the rain, and this past week we built two compost piles from our first cutting. I also like to use some fresh cut comfrey to help the pile heat up quickly. This is another great green material for the pile and one we grow on our farm.
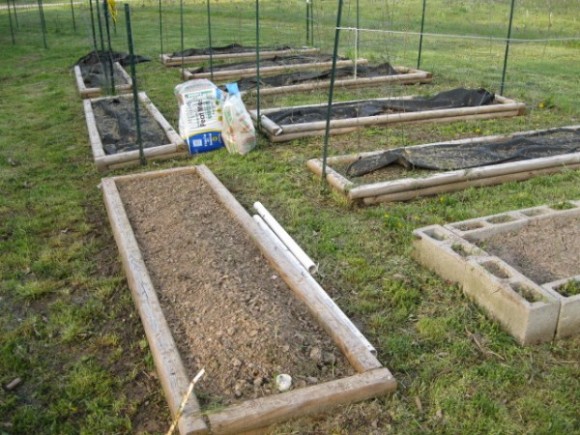
A third key ingredient that is often overlooked is soil. A thin layer of soil on each layer of the pile provides an injection of soil bacteria to get the pile going quickly. Bacteria are the creatures that drive the decomposition process that makes for rich compost. Recently, I’ve been cutting out pathways between the raised garden beds with my little tiller and use the dirt for the pile. This has worked great.
Pile Size
With the right ingredients at hand, secret number two is getting a good sized pile. If the pile is too small, there won’t be enough mass for the bacteria to really get going decomposing the pile. The minimum pile size is generally known to be a three feet cube—three feet wide, three feet long, three feet high. I like a little bigger pile, so I have good success with a four by four by three pile. The biggest difficulty I have in making a bigger pile is getting enough brown material. Many times I have to purchase straw bales for my brown source, but these can get expensive.
Pile Structure or Layering
Secret number three to making good compost is the pile structure. I have the most consistent success with the layering method. Layering provides good air flow for the bacteria to breath—they are living creatures that need air—and a good food source up and down the pile. I start with lightly breaking up the soil where the pile will be placed to expose the soil bacteria. I then add a six inch or so layer of straw, then a six inch layer of green material—either alfalfa, comfrey, weeds/grass or some combination of these—and then finally a thin layer of soil. I repeat this layering of straw, green, soil until the pile is three feet tall. I cap the pile with a final layer of straw on top of the last soil layer. This method is really very easy to remember and gives very consistent results.
Moisture
The fourth secret to making good compost is moisture—water. The bacteria need a damp environment to thrive and move around in to breakdown the materials. The pile cannot be too wet or the bacteria will not get air to breath and die. This is why piles will start to stink. Also, the pile cannot get too dry. Not enough water and the pile just sits there doing nothing—it’s too dry. When making my piles, I give a generous watering to each layer—brown, green, soil—as I build it, but not too much to water log it. This is where you will have to experiment a little to get a good balance.
Time
The final secret for making good compost is time. The pile needs time for the bacteria to do their thing. I used to spend a lot of time turning my piles to speed up the decomposing process. You can do this, but I found that to be too much work. Now I just let the piles sit without touching them with the expectation of having compost six to twelve months later. This has really worked well for me and is a big labor—and back—saver. I just try to have several piles in various stages so I have compost for planting time. I don’t always get around to this though.
How do you know when you’re making good compost?
After getting the pile to the proper size with the right ingredients and moisture, it should heat up at first to around 120 to 140 degrees, and then settle in to around 100 degrees for several days. You will notice that it will begin shrinking rapidly during this stage as it decomposes. It will then slowly cool down, rest and decompose more slowly over the waiting period. It will be ready when it is dark and very little of the source material is identifiable. I water the pile during the early stages if it seems to be dry and slow down and we won’t have any rain coming soon.
There you have it, my five secrets to making rich compost. What secrets do you use for making rich compost?