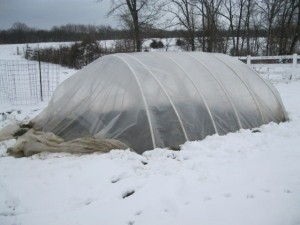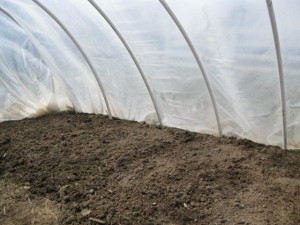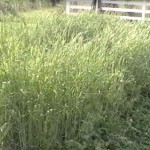
cereal rye and hairy vetch bed
As I wrote in my first post on Cindy Conner’s Cover Crops and Compost Crops IN Your Garden DVD, I highly recommend anyone wanting to grow cover crops in their garden to get this DVD. In this post, I share some of my notes on the main cover crops Cindy uses in her garden plus some notes from my own experience.
Cover crops are a perfect addition to any garden, mini-farm or homestead and are well worth the time and effort to incorporate them into your land, garden and compost plan if you are not using them already. Before getting her DVD, I’ve been experimenting with a few of these cover crops already myself with good results, but I was missing something. Cindy’s DVD helped bring it all together for me.
Here are the main cover crops she uses in her garden and what I’m calling the 8 “must haves” for your garden.
Cereal Rye
Cereal Rye—not rye grass—is a very versatile cover crop to use in the garden and homestead. I use it extensively myself. Noteworthy aspects of cereal rye include:
- Produces a tremendous amount of biomass, either green or brown, that can be used as a mulch or dry material for the compost pile.
- While it grows, it develops an extensive root system creating more biomass under the ground than above.
- It is an excellent cover for the soil to protect the soil from erosion and also from weeds.
- You can harvest the seeds as a grain for bread making.
- If you are going to use the green material for mulch, let it grow until it flowers, then cut and let it decompose on the bed. It will be at its highest green biomass level at flowering. You know it is ready for cutting when it starts shedding pollen.
- If you are going to use the brown, dry material for the compost or save the grain (seeds), cut it when the heads bend over. The stalks will not be completely dry at this point, but you don’t want to wait too long or the seeds will drop from the heads and reseed the bed. After cutting, let it dry in a covered area for about a week and then you can thresh the heads and gather the seeds for future use. The straw can go straight to the compost pile or saved in a covered area for future pile building.
- Cereal rye is best planted in the fall.
- Here’s a video I did on harvesting green rye for compost.
Oats
Oats are another great grain-category cover crop. Noteworthy aspects of oats include:
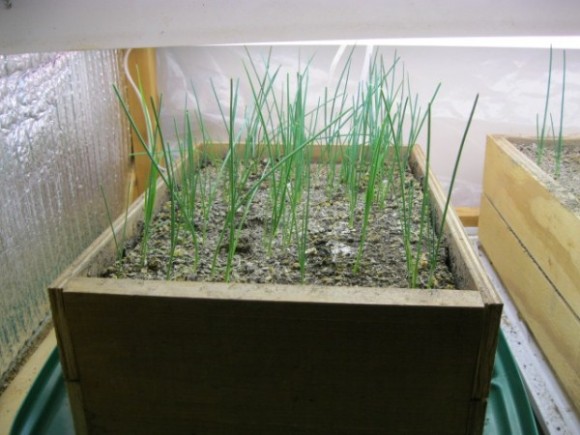
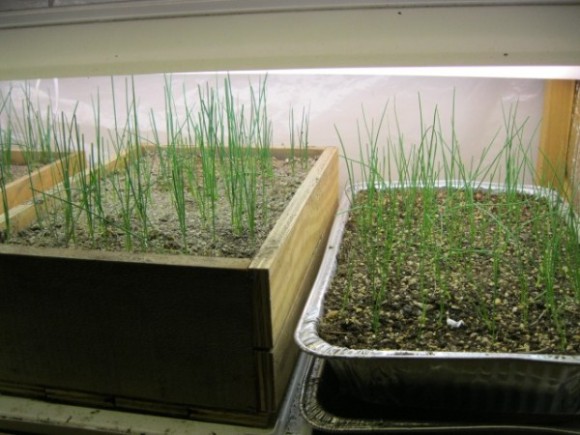
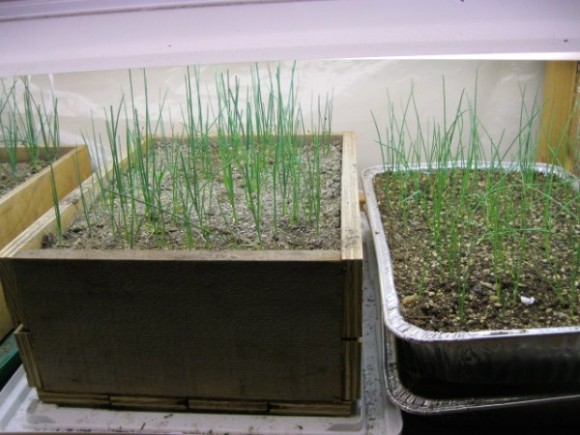
- Planted in the fall, oats will grow to provide an excellent cover for the winter soil and then will winter kill to provide an excellent no-till mulch for your spring garden. Just transplant right in the winter killed mulch. The roots will decompose to provide airways in the soil. Cindy planted onion sets in her oat mulch bed in the DVD. Great idea!
- It produces a very dense cover to discourage weeds and a great amount of biomass.
- Plant in the spring if you want it to grow to maturity and keep the seeds for replanting or grain.
Wheat
Wheat is another good grain cover crop, but it will not produce as much biomass as rye or oats. Noteworthy aspects of wheat include:
- Obviously, you can let the wheat grow to maturity to use the grain for baking. Harvest similar to rye when the heads bend over and let dry for about a week. It will produce straw for the compost pile but not near the amount of straw as cereal rye.
- It can also be cut at flowering and laid in the bed as mulch.
Hairy Vetch
Hairy Vetch is an excellent cover crop companion with cereal rye. It likes to climb and can grow profusely.
- Planted with rye, hairy vetch provides a nitrogen source in the rye bed and the rye provides stalks for the vetch to climb on.
- Don’t plant too much vetch in with the rye or it will likely overcome the rye and knock it down.
- Combined with the rye when cut as green mulch, they together provide a thick blanket of biomass material to suppress weeds. Or, you can use the green material for the compost pile. Transplanting right in the mulched bed saves time and effort and provides a great growing environment for your transplants.
Medium Red Clover
Clovers are legumes that add nitrogen back into the soil and should be in any cover crop rotation plan. Medium red clover is an excellent clover choice as it has these noteworthy aspects:
- It is a fast growing clover that can be recut giving more total biomass than other clovers.
- Sweetens the soil and is hardy to zone 4.
- Plant in the spring or fall. Sow in the fall for a spring harvest to start your spring compost pile.
- Allow to grow in a specific bed or area for 2 years to provide continual green biomass material for the compost pile. It achieves maximum biomass when it flowers.
- After 2 years, you can harvest and cultivate it out and plant heavy feeding crops like corn in its place to take best advantage of the nitrogen residue.
Alfalfa
As I wrote in a previous post, I see alfalfa as the jewel of any homestead. It can be hard to grow in some soils, but it is my favorite legume cover crop. Some key aspects of alfalfa include:
- Its deep roots penetrate deep into hard soils bringing up key nutrients from the subsoil.
- It is one of the most valuable compost crops and will restore poor soil being a fantastic nitrogen fixer.
- Generates a tremendous amount of high nutrient green biomass for the compost pile.
- Allows for many cuttings.
- Dormant varieties are extremely winter hardy.
Field Peas
“Field peas” is a general term for a whole variety of different kinds of peas. Cindy recommends using the Austrian Winter field pea. Here are some notes about this good legume cover crop:
- This legume is a very good green manure cover crop. It builds soil tilth and adds organic matter and thus humus to the soil.
- It is generally planted in the spring to add nitrogen to the soil and use as green biomass material for the compost pile.
- Plant peas in the fall if you want it to winter kill.
- Mixing the Austrian Winter Peas with oats is a great compost or mulch combination.
- I’ll be trying this field pea for the first time this year.
Buckwheat
Another one of my most favorite cover crops is Buckwheat. It’s a great summer planting crop for when you have space in the garden between crops and what to keep the soil covered. Some noteworthy aspects of buckwheat include:
- It’s a quick and easy growing crop to keep the weeds down. It starts flowering in about 30 days which is the best time to harvest for the compost pile or leaving in place as a light mulch or to work into the soil.
- It is easy to hoe in for organic matter or pull or cut for the compost pile.
- Honey bees just love the flowers and you’ll have an abundance of pollinators in your garden area. It also attracts other beneficial insects. One year, I couldn’t believe the number of different good bugs in my dense buckwheat beds—praying mantis, lacewing, beetles, spiders, flys and many others.
- It is a high phosphorus scavenger and when it decays will release a tremendous amount of phosphorus back into soil either directly or through the compost pile.
- Definitely a must have for any garden!
There you have it, the 8 “must have” cover and compost crops for any garden, mini-farm or homestead. Many of these are very easy to grow and work into your garden plan. No soil should be left bare at any time during the year. Along with attracting beneficial bugs, these crops will both protect your soil and add an abundance of biomass and nutrients to help you continually improve your soil from year to year. I highly recommend you get Cindy’s DVD and start working these crops into your garden plan!
I’d love to hear about any of your successes with cover crops. What successes have you had with what types of cover crops?